Introduction
Fast WF is a versatile web-based application to organize, customize and monitor workflows. The interface can be used in a variety of applications including small businesses, customer service, educational institutions, administration, etc.
Getting started
A site manager can register on the application using their email address or phone number, to create an account that can be used to create and manage workflows and sites.
Creating Workflows
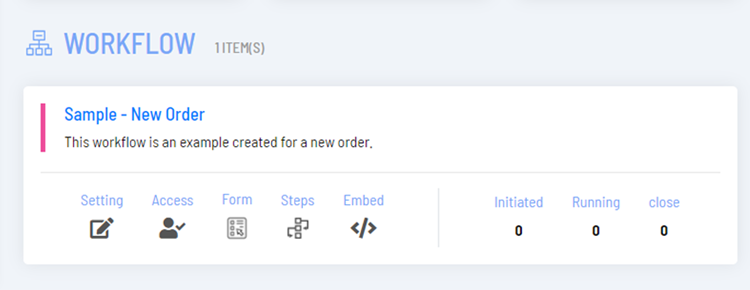
Add Workflow
Select the option “Add Workflow” and configure the workflow settings according to the following table.
Field Name
Value Range and Description
Title
Assign a title to the workflow.
Description
Write a description to describe the purpose of the workflow.
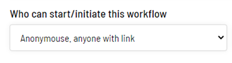
Who can start/initiate
this workflow
Shared password – Login Not Required:
Login is not required to initiate the workflow. Set the password in the “Password” field.
Restrict by Access – Login Required:
Only certain users will be granted permission to start the workflow. Login by the user is required.
Any logged in User – Login Required:
Any logged in user is permitted to initiate the workflow.
Anonymous – Anyone with Link:
Anybody can initiate the workflow if they have the URL for the site.
Who can process
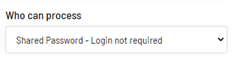
Shared password – Login Not Required:
Login is not required to process the workflow, only the shared password is used.
Restrict by Access – Login Required:
Only certain users will be granted permission to process the workflow. Login by the user is required.
Responsible Only – Login Required:
Any logged in user is permitted to process the workflow.
URL Sent to Responsible only – Login Not Required:
The URL is shared with the responsible people only.
Password
Set a password for the options where required for shared password.
Iteration Notification
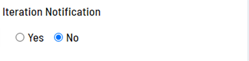
Yes: A notification will be sent every time there is an iteration.
No: No notification will be sent for every iteration.
Reference number format
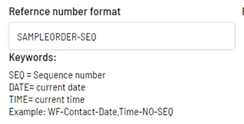
Setup a numbering methodology. Use the keywords as part of the reference number.
Field level control

Yes: When this is enabled, an additional setting for Control is available
No: The Control setting is disabled.
Message after processing
a step
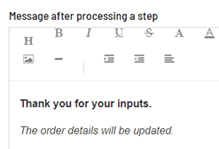
This is the message that will be displayed on the screen whenever a user processes a step. This message can be edited with rich text format.
Input form
An Input Form is used to determine the flow of steps in a workflow.
Field Name
Value Range and Description
Label
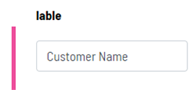
The name of the field as displayed on the form.
Type
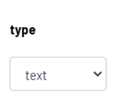
Text: A text box is displayed.
Date: It is possible to set a specific date, suitable for browsers with html5.
Email: Field for an email address.
Phone: Field for a phone number.
Text Area: A larger text area to be used for comments, descriptions, etc.
Rich Text: A larger text are with the option to format using rich text format.
List: A drop down list of possible values. Fill the value set in the field for “List/Default Values”.
Multi List: A list with the possibility to select multiple values. Fill the value set in the field for “List/Default Values”.
Radio: Possible options with radio button selection. Fill the value set in the field for “List/Default Values”.
Check Box: A check box that may be ticked or not.
File: The possibility to upload a file.
Calendar: Date input with calendar view, suitable for browsers that do not support html5.
Countries: Drop down list of countries with their telephone code.
Currency: Drop down list of possible currencies.
List/Default Values
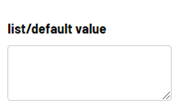
Write the possible list items.
For other type of field, write the default value to be used. Leave blank in case of no default.
Required
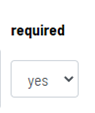
Yes: This field must be filled to submit the form.
No: This field can be left blank (optional).
It is always possible to edit a form using the “Form” button in the workflow. While editing the form, there is the possibility to delete fields, or reorder the fields using the buttons on the far right (X, Up, Down).
Steps
The steps in the workflow are defined using a visual tool. Select the option for “Steps” to do this.
A visual canvas is available on which the site manager can define steps, to determine the sequence of events in a workflow. Thus, a workflow can be broken up into multiple smaller tasks and decisions, with a responsible user assigned for each task.
The following actions can be used to create, edit, and link steps:
Action
Description and Function
Click on the icon and drag into the canvas to create a new node.
Clear the canvas to start afresh.
Download the canvas as an image.
Save the workflow.

Zoom in and zoom out of the canvas.
Fit the screen to optimum zoom.

Create action arrows from one step to the next by clicking on a step, keep the mouse button clicked and drag the arrow to the next step. The arrow is created in the direction of the drag action, and the site manager can assign an event or condition to the action.
Click on a step, to configure it as follows:
Field Name
Value Range and Description
Title
Name for the step
Description
Description of the step
WF Status:
--: Default status, same as Running.
Start: Can be used for the initial step only, and the responsible email is that of the Initiator.
Running: Used for all steps where the status of the workflow is in process.
Close: Used for the last step where the workflow is to be closed.
Responsible Email(s):
List the email addresses that are responsible for this step.
After the steps are created, save the workflow, and then select the “Done” Option on the top of the window.
Sites
A site is a URL which can be accessed by users to initiate and process workflows. Create a new site and assign workflows to it by selection the option to “Add Site”.
Field Name
Value Range and Description
Title
Create a title for the site. The title cannot have blank spaces or special characters.
Description/Intro Content
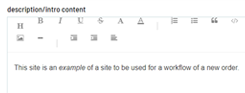
Rich text content that is to be displayed on the site.
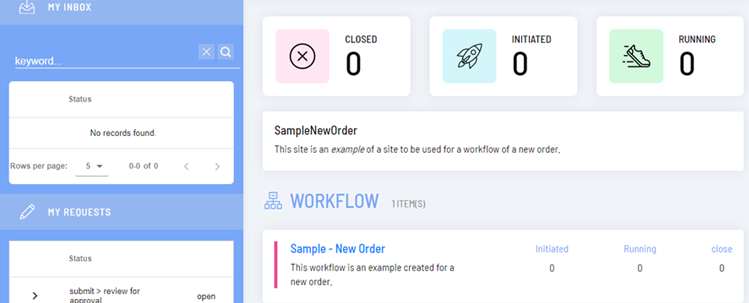
Show Request Counters

Should the site display the request counters for the workflows.
Yes: The site displays the request counters.
No: The site does not display the request counters.
LOGO
Select an image to be displayed as site logo.
Once these settings are saved, assign workflows to the site. By opening the URL, the user can access the site.
Users and Access Control
Users can be created and controlled by the site manager. New users can be added, and then can be assigned to Groups. Groups can be created to organize users for the purpose of access control. The site manager can control the access level for the entire group.
Access Control
The site manager can control the access level for users and groups for each individual workflow.
These settings become relevant based on the workflow settings. If the access to initiate or process the workflow is set to “Restrict by Access – Login Required”, these settings need to be updated.
Field Name
Value Range and Description
Users/Groups
Select the Users or Groups as per the drop-down menu.
Access level
Initiate: The users or groups are allowed to initiate the workflow.
Process: The users or groups are allowed to process the workflow.
Full Access: The users or groups have full access to the workflow.
View: The users or groups are allowed to view the workflow.
