Introduction & Scope
Fast WF is a versatile web-based application to organize, customize and monitor workflows. The interface can be used in a variety of applications including small businesses, customer service, educational institutions, administration, etc.
This user manual describes the functionality of this app, with detailed instructions on how to access the interface, setup a workflow, and organize the sequence of steps in any workflow. Visual instructions are provided with screenshots for the purpose of clarity. This document also provides information on how to regulate access, monitor status and customize options as per specific requirements.
Key Features
- Versatile web-based application that can be customized to suit every requirement
- Configurable users and access control
- Universal access through browsers and shareable URLs
- Visual user interface to create dynamic workflows
- Email and SMS based user alerts and access codes
- Customizable forms
- Configurable monitor data and statistics
- Editable user profiles
Using Fast WF
Getting Started
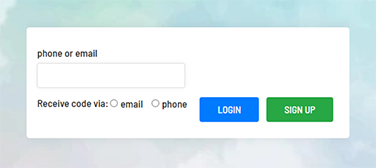
To get started with Fast WF, the first step is to appoint a site manager. Follow the link to access the portal. Register using an email address or phone number to get an access code.
Enter the 4-digit access code to gain access to the portal.
The site manager interface provides the ability to create workflows with input forms, create sites, and assign workflows to sites. Additionally, the site manager can give access to various users and assign roles and responsibilities.
Build a Workflow with Fast WF
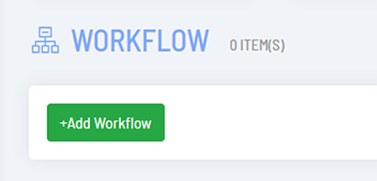
To create a new workflow, click the button to “Add Workflow”.
Fill out the fields to set up the workflow, the following table explains the fields and the possible inputs.
Field Name
Value Range and Description
Title
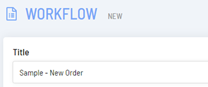
Assign a title to the workflow.
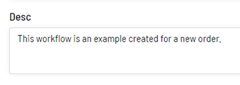
Description

Write a description to describe the purpose of the workflow.
Who can start/initiate
this workflow
Shared password – Login Not Required:
Login is not required to initiate the workflow. Set a password in the “Password” field which can be shared with anyone who wishes to start the workflow
Restrict by Access – Login Required:
Only certain users will be granted permission to start the workflow. See Access to know more about setting permissions. Login by the user is required.
Any logged in User – Login Required:
Any logged-in user is permitted to initiate the workflow.
Anonymous – Anyone with Link:
Anybody can initiate the workflow if they have the URL for the site.
Who can process
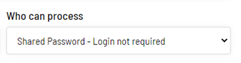
Shared password – Login Not Required:
Login is not required to process the workflow. The password in the “Password” field will be used to grant access to the workflow.
Restrict by Access – Login Required:
Only certain users will be granted permission to process the workflow. See Access to know more about setting permissions. Login by the user is required.
Responsible Only – Login Required:
Any logged in user is permitted to process the workflow.
URL Sent to Responsible only – Login Not Required:
The URL is shared with responsible users only. With the URL, they are permitted to access the site and process the workflow.
Password
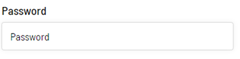
Set a password for the options where required for shared password. This password can be used to start/initiate or process a workflow.
Iteration Notification
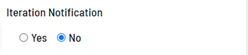
Yes: A notification will be sent every time there is an iteration.
No: No notification will be sent for every iteration.
Reference number format
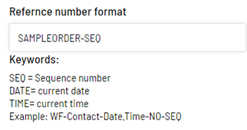
Setup a numbering methodology. Use the keywords as part of the reference number.
SEQ: sequence number, increases with every new
workflow initiation
DATE: Use the current date
TIME: Use the current time
Field level control

Yes: When this is enabled, an additional setting for Control is enabled.

No: The Control setting is disabled.
Message after processing a step
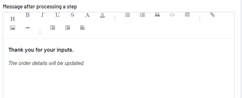
This is the message that will be displayed on the screen whenever a user processes a step. This message can be edited with rich text format.
Click on the “Save” Button after configuring the options. The next step is to create an Input Form.
Input Form
An Input Form is used to determine the flow of steps in a workflow. The interface to create a form allows the site manager to create a custom form with desired set of fields.
The inputs to create a form are as follows:
Field Name
Value Range and Description
Label
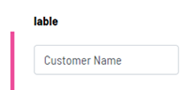
The name of the field as displayed on the form.
Type
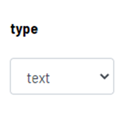
Text: A text box is displayed.
Date: It is possible to set a specific date, suitable for browsers with html5.
Email: Field for an email address.
Phone: Field for a phone number.
Text Area: A larger text area to be used for comments, descriptions, etc.
Rich Text: A larger text area with the option to format using rich text format.
List: A drop down list of possible values. Fill the value set in the field for “List/Default Values”.
Multi List: A list with the possibility to select multiple values. Fill the value set in the field for “List/Default Values”.
Radio: Possible options with radio button selection. Fill the value set in the field for “List/Default Values”.
Check Box: A check box that may be ticked or not.
File: The possibility to upload a file.
Calendar: Date input with calendar view, suitable for browsers that do not support html5.
Countries: Drop down list of countries with their telephone code.
Currency: Drop down list of possible currencies.
List/Default Values
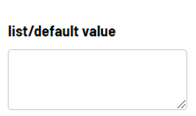
In case of list, write the possible list items. For other types, write the default value to be used/displayed. Leave blank in case of no default.
Required
Yes: This field must be filled to submit the form
No: This field can be left blank (optional)
After creating the form, select the “Save” button. Once a form is created, the workflow is created.
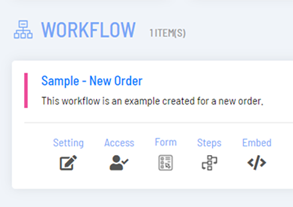
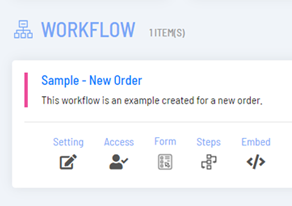
It is always possible to edit a form using the “Form” button in the workflow.
While editing the form, there is the possibility to delete fields, or reorder the fields using the buttons on the far right (X, Up, Down).

Steps
The steps in the workflow are defined using a visual tool. Select the option for “Steps” to do this.
A visual canvas is available on which the site manager can define steps, to determine the sequence of events in a workflow. Thus, a workflow can be broken up into multiple smaller tasks and decisions, with a responsible user assigned for each task.
The following buttons are available to edit, view and save the workflow representation:
Action
Description and Function

Click on the icon and drag into the canvas to create a new node.
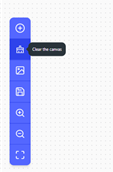
Clear the canvas to start afresh.
Download the canvas as an image.
Save the workflow.
Zoom in and zoom out of the canvas.
Fit the screen to optimum zoom.
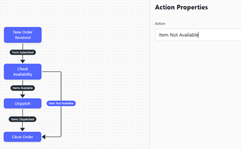
Create action arrows from one step to the next by clicking on a step, keep the mouse button clicked and drag the arrow to the next step. The arrow is created in the direction of the drag action, and the site manager can assign an event or condition to the action.
The properties of each step be configured. Click on the step to access the step properties.
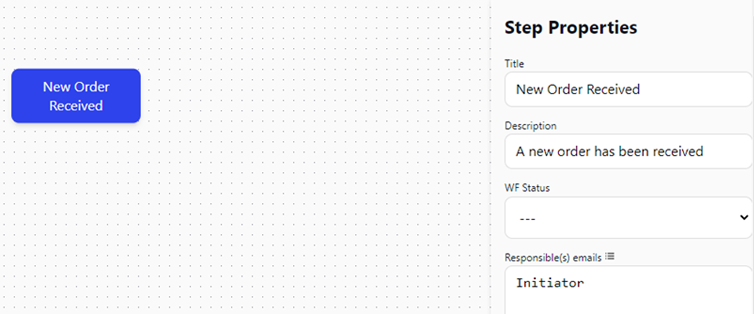
Field Name
Value Range and Description
Title
Name for the step
Description
Description of the step
WF Status:
--: Default status, can be used for any step other than the first or last step (see "Running” )
Start: Can be used for the initial step only, and the responsible email is that of the Initiator
Running: Used for all steps where the status of the workflow is in process.
Close: Used for the last step where the workflow is to be closed.
Responsible Email(s):
List the email addresses that are responsible for this step.
After the steps are created, save the workflow, and then select the “Done” Option on the top of the window.
Access
The site manager can control the access of different users and groups. These settings become relevant based on the workflow settings. If the access to initiate or process the workflow is set to “Restrict by Access – Login Required”, these settings need to be updated.
See the section Users and Access Control to learn how to create and manage users and groups.

By controlling the access, the site manager can ensure that the workflow is updated only by authorized persons.
Field Name
Value Range and Description
Users/Groups
Select the Users or Groups as per the drop-down menu.
Access level
Initiate: The users or groups are allowed to initiate the workflow.
Process: The users or groups are allowed to process the workflow.
Full Access: The users or groups have full access to the workflow.
View: The users or groups are allowed to view the workflow.
Embed Workflow
The workflow can be embedded using the embed code provided here. Select the code and copy it into an HTML editor.
Control
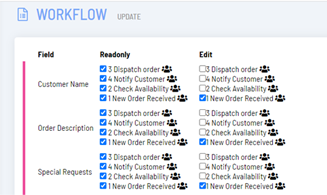
These settings are enabled only when “Field Level Control” is set to “Yes”.
Here, it is possible to configure the form according to the stage of the workflow, identified by the Steps.
For every step, it is possible to decide whether a field is visible and editable. Use the check boxes to determine which fields are to be enabled and which not.
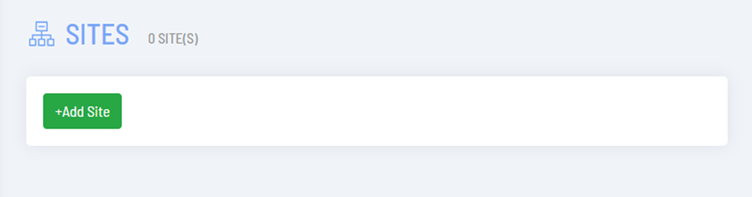
Creating Sites
Go to the “List Site” interface and select the option to “Add Site” to create a new site.
A new site is created by filling the contents of this form:
Field Name
Value Range and Description
Title
Create a title for the site. The title cannot have blank spaces or special characters.
Description/Intro Content

Rich text content that is to be displayed on the site.
Show Request Counters.

Should the site display the request counters for the workflows.
Yes: The site displays the request counters.
No: The site does not display the request counters.
Logo
Select an image to be displayed as site logo.
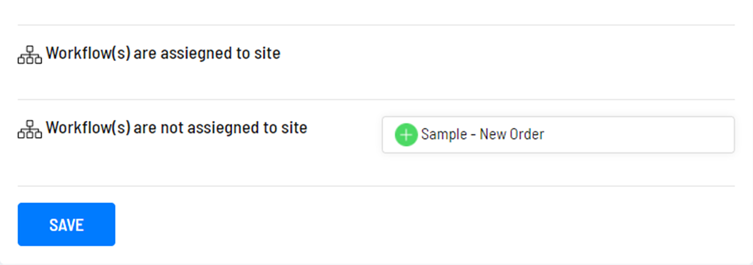
Select which workflows are to be assigned to the site. It is also possible to assign multiple workflows to a single site.
Now under the menu to “List Sites” the newly created site is visible with its URL (highlighted in screen capture).
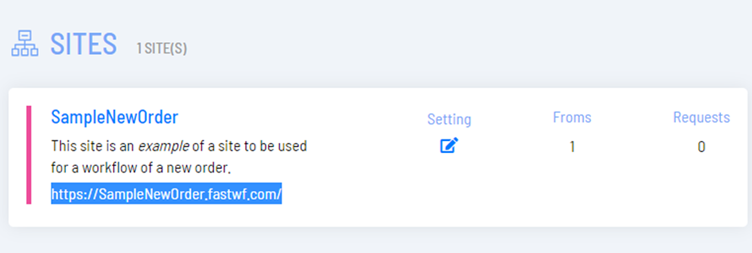
By clicking on a site, or opening the URL in the browser window, the site is visible to a user.
Users and Access Control
Users
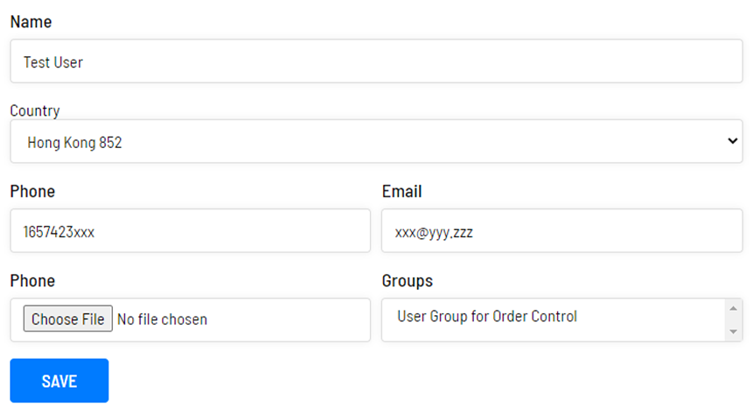
Users can be created and controlled by the site manager. New users can be added, and then can be assigned to Groups.
To add a new user, select the “Add User” option fill the details as follows:
Groups
Groups can be created to organize users for the purpose of access control. To create a group, go to the “Add Group” Section and fill in the details for a new group.
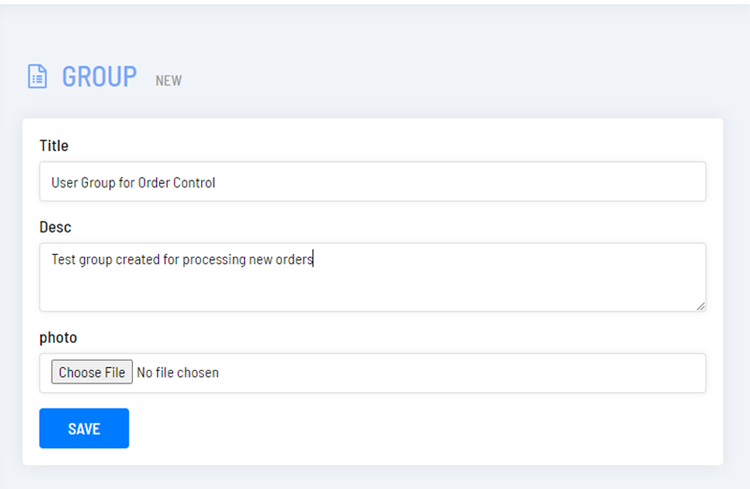
Once a group is created, one can assign Users to groups. The site manager can control the access level for the entire group, as described in the Access Section.
Additional Features
User Profile
Every user can update their user profile with their name, phone number, email address and photograph. The users will be visible in the “List Users” option.
Search
A search feature is included which is useful when a system has multiple sites and workflows.

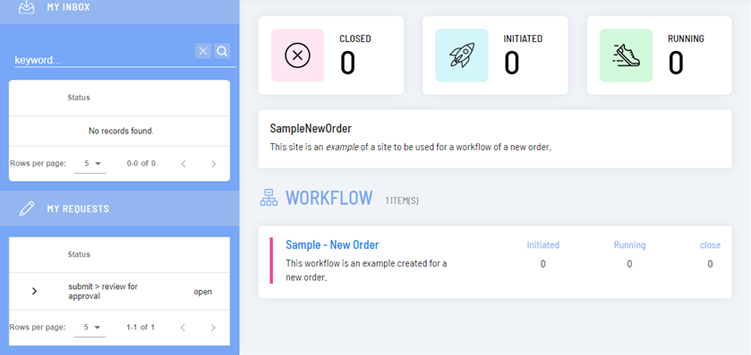
Snapshots/Reports/Statistics
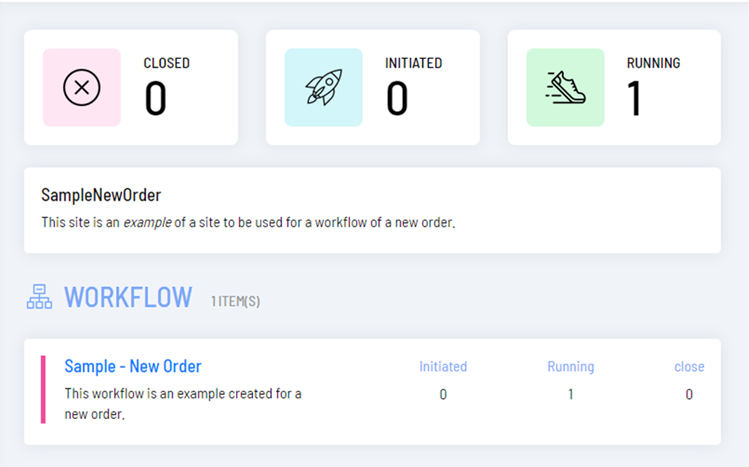
In every site, it is possible to have the statistics of the number of workflows that have been initiated, the number that are running, and the number that are closed. This information is visible through the request counters at the top of the site.
Note: Request counter visibility may be disabled in settings.

Example of a functioning site with a workflow
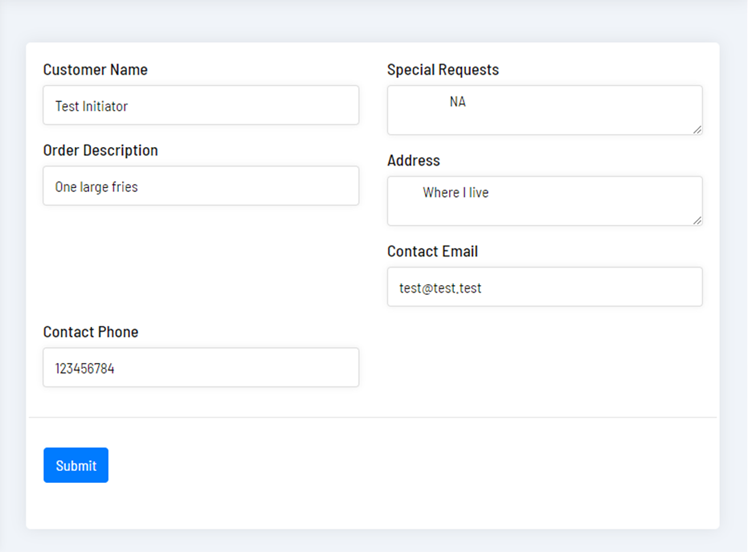
It is now possible to open a workflow and perform actions as per the steps indicated in the workflow. One example of steps performed is indicated below:
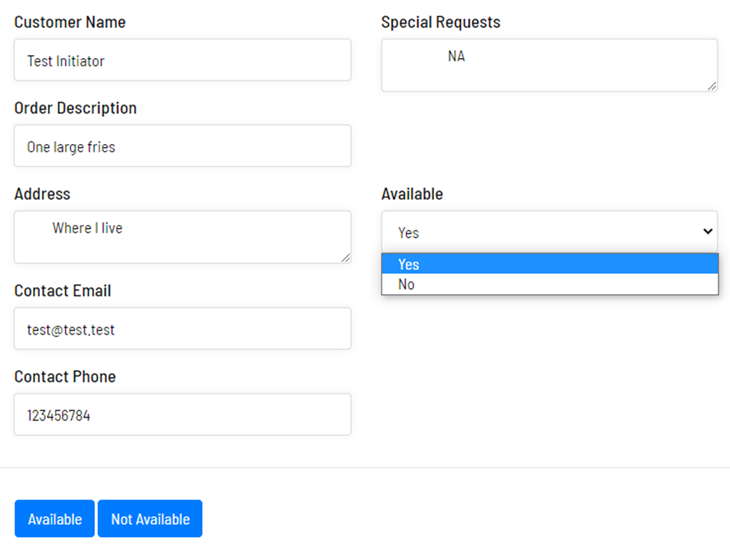
1. A new workflow is initiated. The fields are displayed according to the settings in Control
2. After clicking on submit, the message on the screen is displayed.

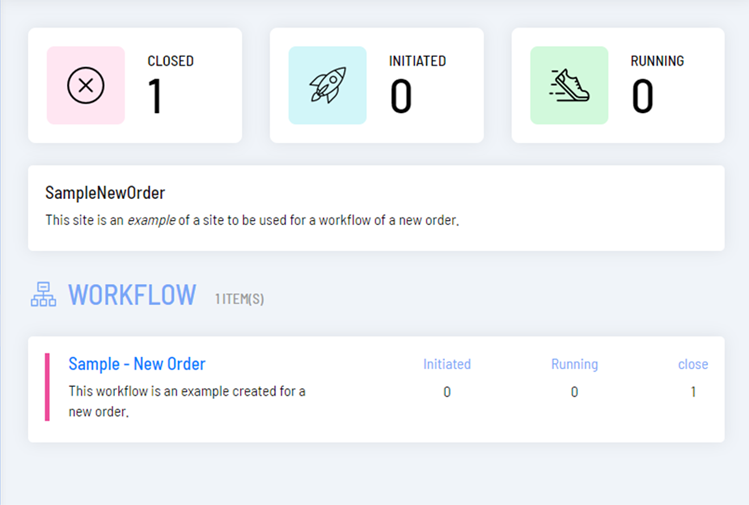
3. The site now displays the updated request counters.
4. The users who are allowed to process the workflow will now see requests where they can take an action on their dashboard.
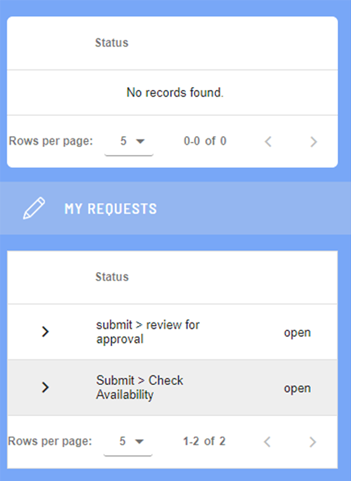
5. By clicking on the request, the status of the workflow will be displayed.

6. The next actions may be taken.
7. When the workflow is complete the request counter is updated to closed.
Glossary
Name of the Term
Description
Access Code
Code received by SMS or Email to allow the user to access the application during registration or login
Fast WF
Name of the application to regulate, process and monitor workflows
Input Form
A form that is created on a site such that every user of the workflow can add information, make decisions, and trigger actions.
Iteration
A workflow step with a loop-back to repeat the same step, e.g., save draft
Request Counter
A set of numbers that track the total number of workflows that are active at a certain point of time, with details about the number that are initiated, running, and closed.
Site
A URL that can be created with one or multiple workflows, so that users can access and process workflows using standard browser windows.
Site Manager
User of the portal who has complete control on all the functionalities and is responsible for the setting up of workflows and sites.
Steps
Every workflow is divided into stages where an action or decision is to be taken. A responsible person may be assigned for each step.
Workflow
A sequence of actions or decisions that are to be performed from start to end to process or complete a specific task.
Workflow Initiation
A specific action or trigger is needed to start a workflow. This action results in the initiation.
Version History
Version Number
Date
Description
V1.0
xx-Mar 2022
First version of User Manual
